Wednesday, May 2, 2012

I Am Moving

Hi everyone,

I am moving. I am trying to get everything under inkberry and inorder to do so I must move over to a new home. I hope you follow along. I will be closing swingtimedesigns in the next couple of months.

So come on over to inkberry-pdx


Enjoy

Friday, March 16, 2012

St.Patrick's Day Gear Up

I can't wait I love St.Patrick's Day.

Here are some of my garlands and cupcake toppers that are available at Fancy That.


Have a great day!

Wednesday, February 29, 2012

Two Garlands

As I sit watching the snow fall I am working on two garlands. Each one has a Spring theme. I think I have Spring fever or something. Here is a look at my garlands.

Tea Party Baking Garland-


This garland makes me think of sugar cookies and porcelain vintage teacups. 


April Showers Garland- 


This garland makes me think of one of my favorite movies Margie


with Jeanne Crain. If you can find it watch it. It is sooo cute and I love it when she takes the bubble bath.

I think they sing April Showers in the movie. If they don't then I have no idea why this garland made me think of Margie. :)

Monday, February 27, 2012

New Cupcake Toppers

Here is a shot of my new cupcake toppers. I will be putting them on Etsy soon. For now they are available at Fancy That inside Bliss Bake Shop or you can contact me directly.


I love these little guys so cute.

Monday, February 20, 2012

Thursday, February 9, 2012

Valentine Centerpieces

Need cheap centerpieces. Here's an idea:

These are for my husbands staff room on Valentine's Day.  

Yes the vase cover is a sweater that I cut and those aren't vases they are from the dollar store storage section. I filled the jars with the cheapest rice I could find and filled the top half with bulk candy (which is not intended to be consumed. The dessert table we are putting together will be set up on Monday and I will share photos.

The branches are left over curly willow from a wedding reception we decorated (you can uses branches from your yard, I have in the past. I make pom poms out of red heart yarn it's about the cheapest yarn around.

The colors are a white soft pink hot pink and bright red  -excuse the bad bad photography.


I just finished up a special order of fairy dust. She wanted wands on the lables. They turned out so pretty. I love the light pink. There will 12 very happy little girls soon.


Cheers!

Tuesday, January 31, 2012

Button Heart Canvas Tablerunner


Canvas is one of my favorite things to work with. 
It's heavy and well  . . . .it's a blank canvas for doing all sorts of things.

Go to your local art supply store and have them cut you a few yards of unpainted cotton canvas. At Blicks they have it by the yard on bolts. So it's very easy to purchase and really very inexpensive.

Here is a quick table runner I made today.

Supplies:
Canvas

buttons
glue gun
scissors

First make a small cut at however wide you want your runner to be. The great thing about canvas is all you need to do is make a small cut and then take out your frustrations by pulling it apart. So cool. It leaves the edges frayed and beautiful and perfectly straight.


WOW!

Now layout the canvas on a flat surface and arrange your buttons in a heart shape whereever you want them. I put three at one end and three at the other. Make sure the hearts are off set from each other so it doesn't look boring.

Now grab your glue gun and lift up one button at a time, dab a little glue on the reverse side of the button and place right back into the heart shape. The canvas is very forgiving if you glue a button in the wrong place just rip it off and rearrange. No harm done.

That's it!

Super easy


Have a good end of January.

Wednesday, January 25, 2012

Sundry Soiree

I am so hap hap happy to say I am a judge in the Sundry Soiree! Here is the scoop:
Get creative and get going. Can't wait to see all the creative ideas out there.
Cheers!

Saturday, January 21, 2012

Valentine Cupcake Liner and Coffee Filter Garland

I just can't stop myself. I was at the cheap cheap grocery store buying not so cheap groceries. Geez! Groceries are expensive now days. Am I the only one that thinks so?

Well I was on the coffee aisle loving coffee filters and saw these disc coffee filter. I hadn't noticed them before. I grabbed a bag for $1.49 and then I saw some really cute cupcake liners for $1.58 and decided to give myself a challenge to come up with some. Here's what I came up with.


Here's how you can make this cool garland.

Simple simple. Grab your supplies:
Coffee filter disc liners
Cupcake liners
StazOn ink pad in Blazing Red
Yarn or thread or twine
Needle
Background stamp


I didn't have a large background valentine's stamp pad so I rigged one up.

I didn't have a large acrylic block so I took individual heart stamps and arranged them on the acrylic block. It worked like a charm.


Saturate you stamps and stamp on to the disc. The disc is thin and it bleeds through which is the whole point because you want both sides to have hearts on them.


Now thread your needle. 
Punch a hole through the cupcake liner. It doesn't matter if its through the bottom or the center of the inside of the liner for the first cupcake holder. But from there on rotate the direction with the next liner you do. 


Now stick the needle through the hole of the disc filter. Repeat until you have a lovely cupcake and disc coffee filter garland.


Pretty soon you will have a lovely garland and a cheap one also.

Cheers!

Monday, January 16, 2012

A Coffee Filter Garland DIY


                                    I thought I would share my idea for a swell coffee filter garland.


Supplies:
Choose a stamp. I chose musical notes.
StazOn ink in Black Cherry
Yarn or twine and a needle
glue gun
coffee filters
glue stick
hole punch
decorative scissors

Now that you have collected your supplies separate your coffee filter into three's. I used five groups of three.

Stamp each coffee filter randomly all over concentrating on the edges. Just stamp one side.


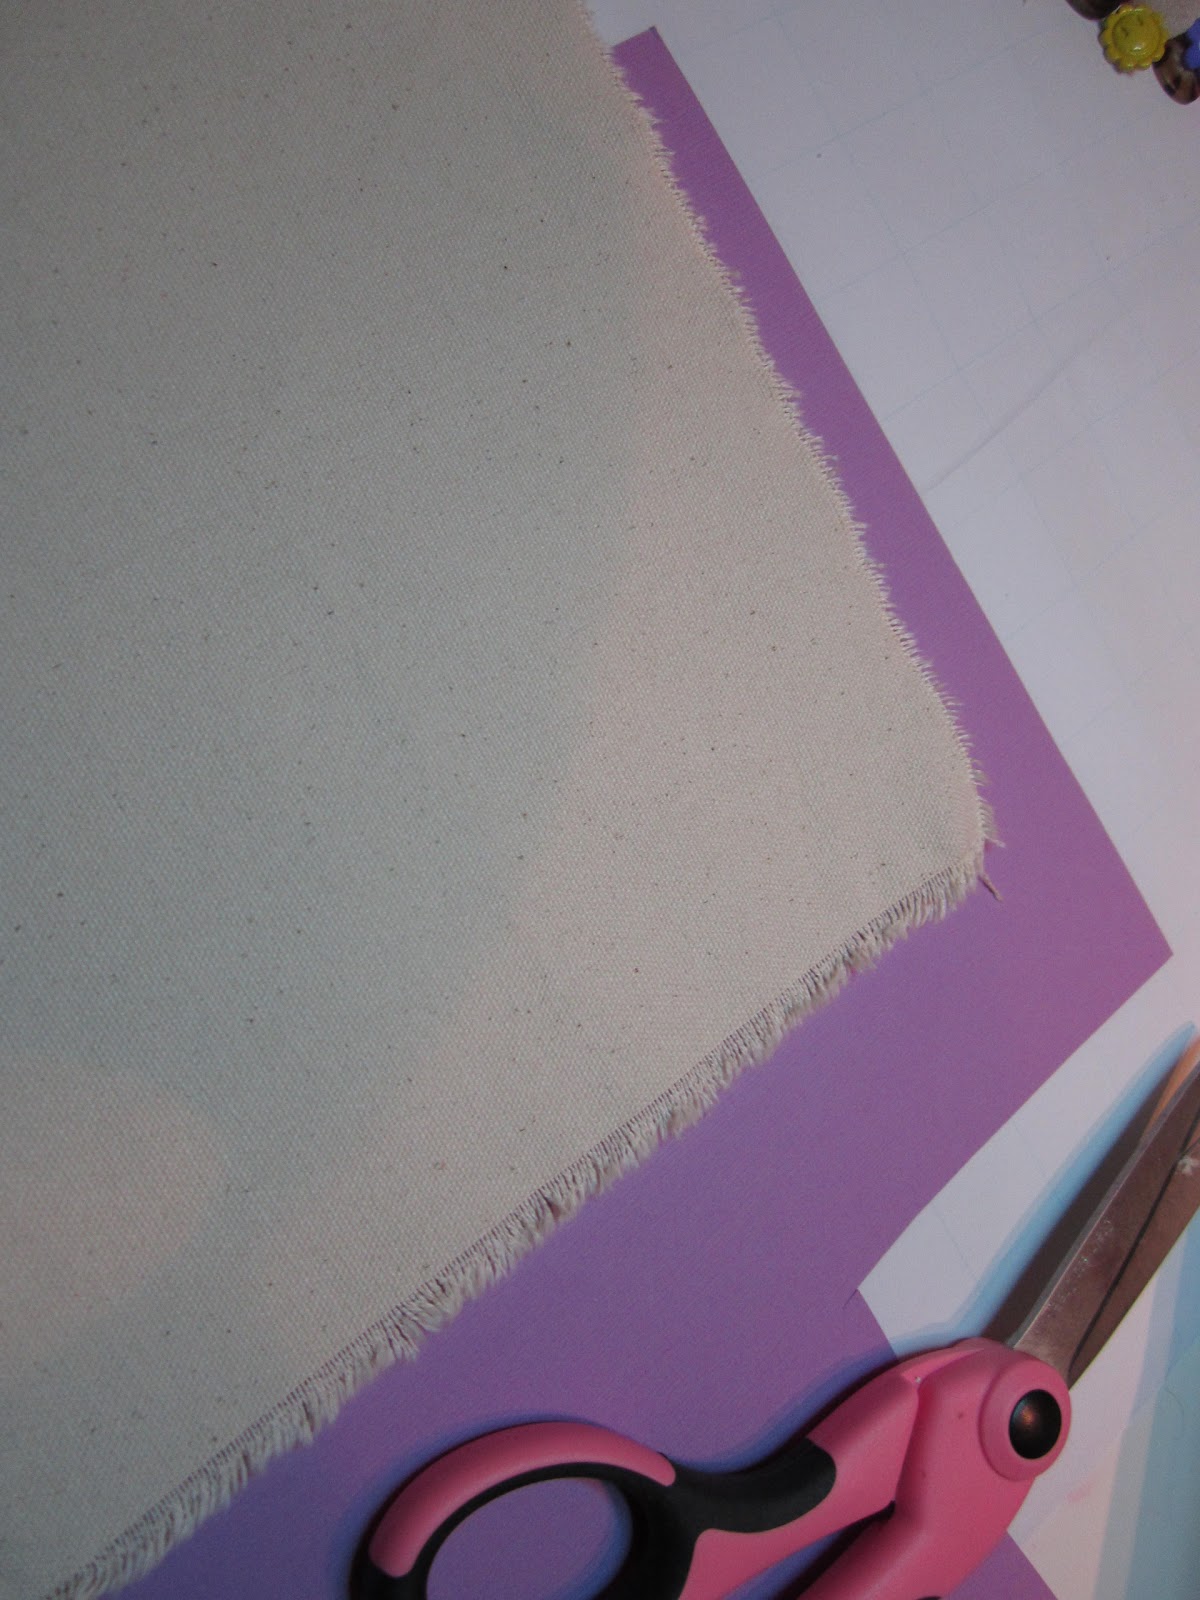
Now fold the coffee filters in half and then again in half and once more. Trim the edge with your decorative scissors.

Now open them back up so they are flat. Take one coffee filter and cut a line straight to the middle.


Start rolling the edge up and glue it down.


Now you have a flower. It should look like this.


Take another coffee filter and dab a bit of hot glue on the center of the filter and press the flower filter into the middle on the glue and scrunch the layers together.


Now take the last coffee filter and fold in half. Use your hole punch and punch through both layers. Open the layer back up.
 

Now dab hot glue in the middle and scrunch all three layers together to form a flower.

Run your choice of thread through the holes and string the flowers through thread.


And now you have a wonderful hand stamped coffee filter garland perfect for Valentine's Day.


Enjoy!

Wednesday, January 11, 2012

How To Make Four Fun Hearts

I was messing around with my heart shaped cookie cutter and came up with four different ways to use the cutter as a template. I thought I would share.

I chose a vintage distressed look but you could use bright materials for brighter hearts.

A heart made from Hersey Kisses.

Open a couple of kisses carefully. Eat the kisses. (must do that).  Then take the wrapper or wrappers (number of wrappers depends on how big your heart cookie cutter is) and mold them into the heart cookie cutter. Lift cookie cutter and voila you have a foil heart. Flatten out the little white note/paper and glue it to the back of the foil heart. Now you can transfer the entire heart to your favorite card or garland or whatever you can think of.


Next up!

A Wax Heart

Light a candle let the candle burn down a bit so there is liquid wax. Blow out candle, hold down cookie cutter that has been placed on a heart resistant surface on wax paper. Pour wax into cookie cutter. When the wax is cool remove cookie cutter and lift off wax paper. Gently pop wax heart out of the cookie cutter.

Wonderful! Now you have a wax heart for embellishing. Side note: I sprinkled a little glitter on mine when it was in the mold.


A wax seal heart.


Place cookie cutter in a heat resistant surface place wax paper over surface. Light the wax seal stick and let it drip. Pay close attention to this. Hold down cookie cutter. It doesn't need much wax only a thin layer. Once you fill the heart so it looks like a heart shape. Let it cool. The wax paper will crinkle up but that's ok. Lift off cookie cutter and peel the heart off as best you can. If the wax seal heart gets crumpled and starts to bend that looks cool too.


A cling wrap heart.


Round up some cling wrap in red. Rip off about 12". Fold it over and over (this depends on how dark you want the red). Be sure to fold the cling wrap to the width of your cookie  cutter. Place cookie cutter on cling wrap and mark around the outside with a pencil. Lift cookie cutter and cut the heart out.
So cool I love the texture.


Last one

This was a mistake I glued the wax heart onto a pennant and didn't like it so I took it off and then I loved it.
So sometimes mistakes are good.

Enjoy!

LinkWithin

Related Posts with Thumbnails